Web sign-in
You can log into Omnibear using web sign-in. This allows you to verify that you own the website you want to post to. There are a number of ways you can implement web sign-in on your site, but the easiest and most common is through indieauth.com.
Setting up indieauth.com
You need to do three things to setup authentication with indieauth.com:
1. Add authorization tags to your site
In your website’s <head> tag, add the following two link tags:
<link rel="authorization_endpoint" href="https://indieauth.com/auth" />
<link rel="token_endpoint" href="https://tokens.indieauth.com/token" />
The first one indicates you wish to use indieauth.com as your login service. The second tells Omnibear where it can fetch your authentication token when you log in. It will then use this token when posting.
2. Add links to your social profiles on your homepage
Somewhere on your homepage, add links to your social profiles around the web. Be sure to include rel="me" to indicate these are your profiles. For example:
<ul>
  <li><a href="https://github.com/keithjgrant" rel="me">Github</a></li>
  <li><a href="mailto:me@example.com" rel="me">me@example.com</a></li>
</ul>
Indieauth.com will allow you to use these services to log in.
3. Ensure each of your social profiles links back to your homepage
On GitHub and any other social profiles linked in step 2, edit your profile to link back to your homepage. You can edit your GitHub URL here.
Because your site links to these profiles with a rel="me", and these profiles now link back to your site, you can now prove you are the owner of your site by logging in to any of these services.
Note: Due to changes by some services, like Twitter, can no longer be used as an authentication endpoint by indieauth.com.
That’s it
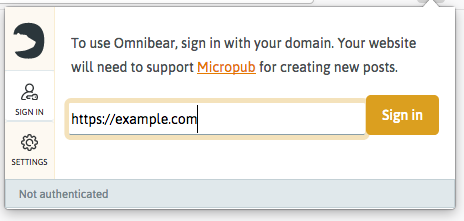
You should now be able to log in to Omnibear. On the login screen, enter your website URL and click “Sign in”.
This will open a new tab in your browser where you can log in using indieauth.com. Follow the prompts in this window. When you are done, you will be redirected to a page on omnibear.com. Omnibear will then fetch your authentication token and you will be logged in to the app.
Manually setting token
The process above allows Omnibear to obtain an authentication token, which it will use when posting to your micropub endpoint. Alternatively, you can manually set your token, logging yourself in manually.
To do this, click on Settings in the Omnibear window, and scroll down to the section labeled “Authentication details (advanced)”.
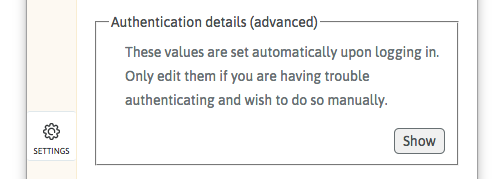
Click the “show” button to reveal three text inputs. Enter your website URL, the URL of your micropub endpoint, and your authentication token into these inputs. All three must be provided.
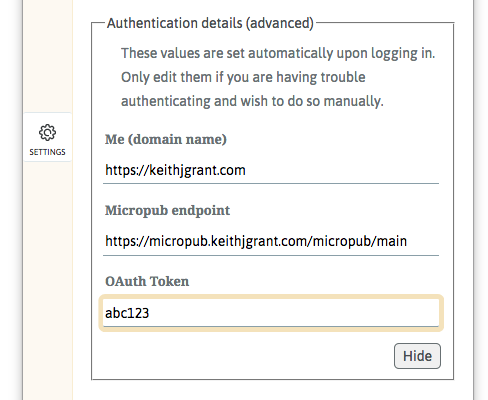
Be sure your token is copied exactly, or you will encounter errors when trying to post entries.